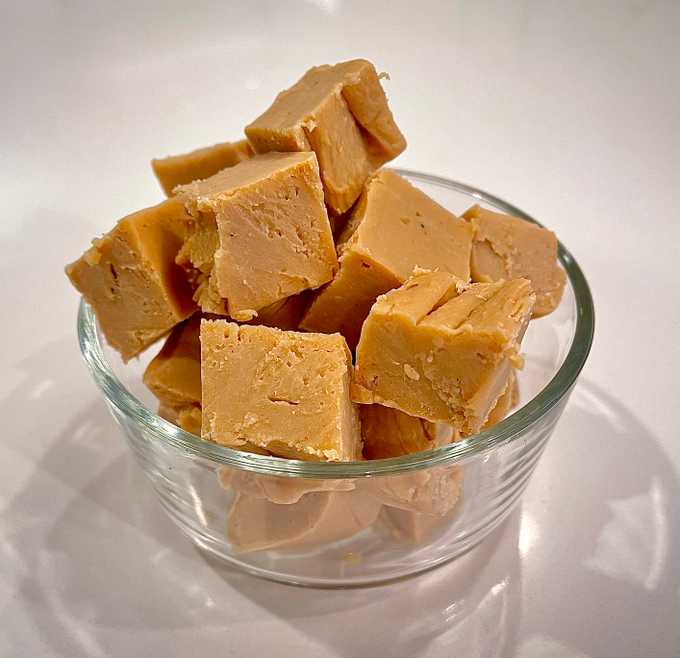
Miso Butterscotch Fudge
Salted caramel had its truest trendy moment around 2007. It had been rising in popularity in smaller confectioneries since the late 90s, but it would remain something of a luxury flavor until Starbucks finally brought it to their lineup in the winter of 2011. Suddenly every brand had something that combined salt and caramel.
This fudge feels like the makeover salted caramel needs. Like the miso butterscotch that flavors it, not only is it salty and sweet, but it bring fermenty and boozy flavors and a bit of umami that salted caramel simply cannot compete with.
As a bonus, you can replace chocolate chips in many recipes with this fudge when chopped to the appropriate size. In fact, my own Peanut Butter Boulders are pretty incredible if you replace half of the Peanut Butter Chips with this fudge. 😉
Ingredients
- 1.5 lbs White Chocolate Chips (24oz/3 cups/2 bags)
- 7 oz Sweetened Condensed Milk
- 5.5 oz Burnt Miso Butterscotch
- 2 tbsp Unsalted Butter
- 6 oz Powdered Sugar
Directions
- Line an 8x8” pan with foil or parchment paper and spray with cooking spray.
- In a large microwave safe bowl, microwave the chocolate, condensed milk, butter, and powdered sugar in 30 second intervals until all the chocolate and butter is melted, stirring between intervals to prevent scorching.
- Add the burnt miso butterscotch and stir well to combine.
- Scrape the fudge into the prepared pan and allow to set for at least three hours. Even once the fudge has reached room temperature the sugar will continue to crystallize so don’t be discouraged if it isn’t completely firm after an hour even though it’s totally cooled. Setting is a separate process. You can speed this up by chilling it, but this can create condensation which will make your fudge sticky if you kitchen is humid at all.
- Once it has set, turn the fudge out onto a cutting board, remove the foil or parchment, and slice into your desired size. I recommend letting the sliced fudge sit for a few hours so that the cut surfaces can dry out just a bit. This makes them easier to pack and store without sticking, but it’s entirely optional.
- Store in an airtight container in layers separated by parchment paper.
